No products in the cart.


8 min read
Short answer: The PARA method is a way to organize all your digital information into 4 groups — Projects (ongoing projects), Areas (areas of responsibility), Resources (reference materials), and Archive (completed) — instead of categorizing by topic. It can be applied directly on Notion, Google Drive, or any tool you're using, and only takes about 30 minutes to set up for the first time.
Open your computer. Desktop has 47 disorganized files. Google Drive has "Important" folder, "Important 2" folder, and "Misc" folder with 200 files that no one remembers what they are. Notion has 30 pages, each named on a whim. Every time you need to find a document, you spend 5-10 minutes searching, and eventually... create a new file because you can't find the old one.
Sounds familiar? This isn't your problem — it's a problem of organization. Most of us are taught to categorize by topic: "Marketing" folder, "Finance" folder, "HR" folder. Logical, but when you actually do it, a price quote file belongs to both "Sales" and "Finance" and the current project — and you don't know where to put it. Tiago Forte — author of Building a Second Brain — what we call the "classification paradox": the more folders, the harder to find.
The PARA method solves this with a surprisingly simple idea: don't classify by topic, classify by actionability.
Article content
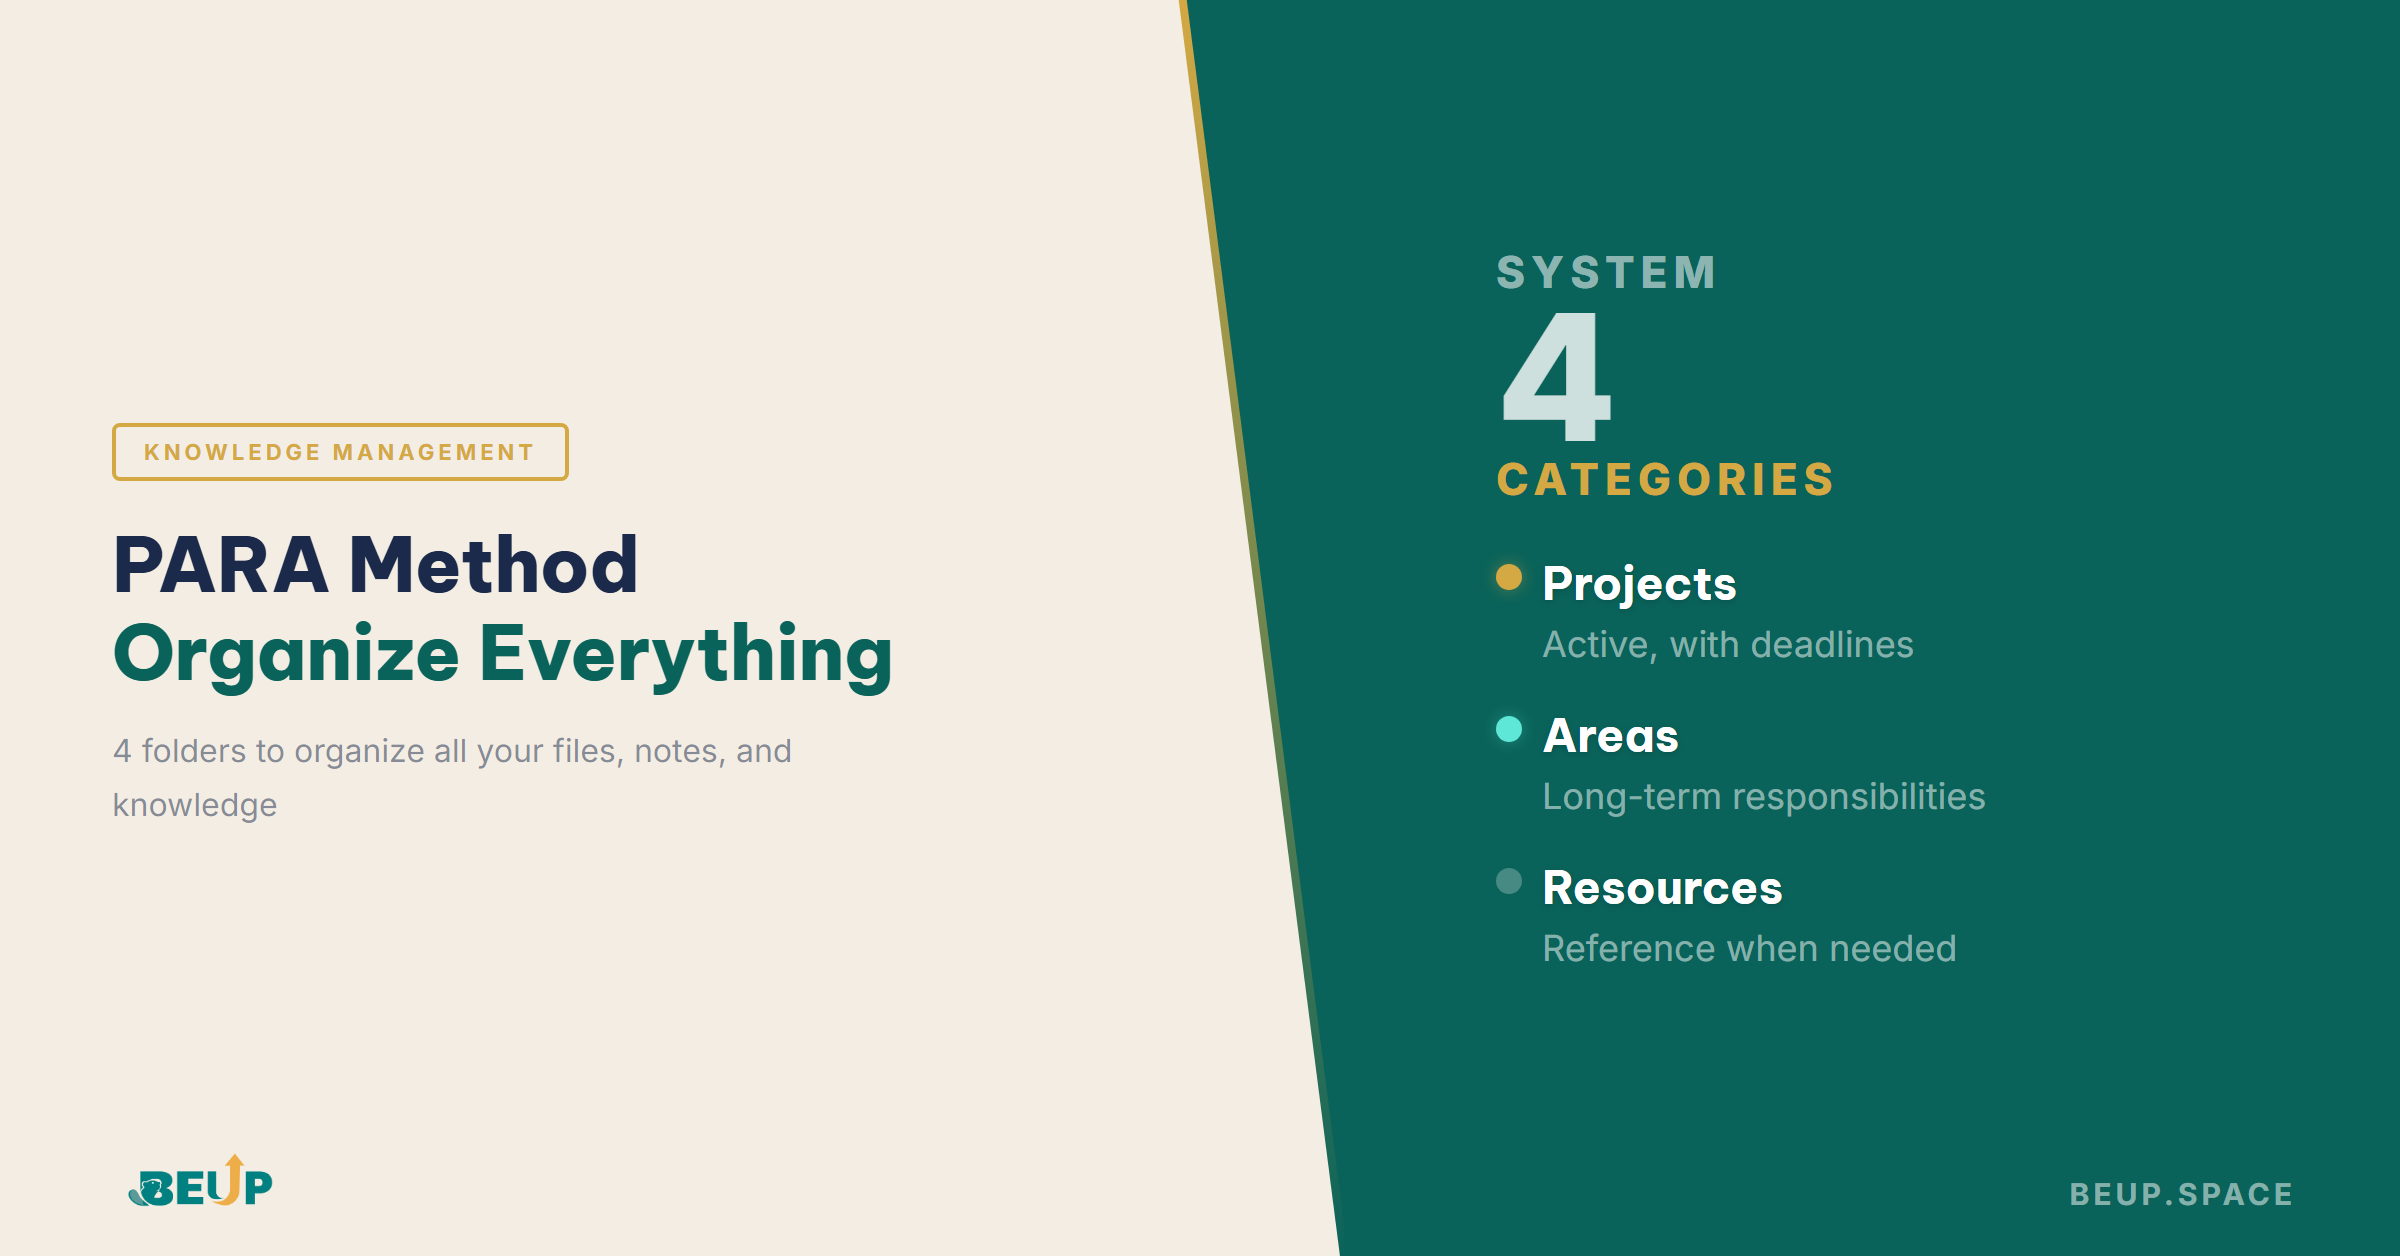
PARA stands for Projects – Areas – Resources – Archive. This is a system for organizing information by actionability, developed by Tiago Forte in his methodology Building a Second BrainInstead of asking "what topic does this file belong to?", you ask "what action do I need to take with this file?"
Imagine you have 4 drawers on your desk:
Drawer 1 — Projects: Things you're actively working on, with deadlines. Example: “Redesign website — done by April 15”, “Q1 report for the boss”, “Prepare slides for Friday workshop.” Each project has a clear endpoint. Done means move it out.
Drawer 2 — Areas: Areas you must maintain continuously, with no end date. “Health”, “Personal finance”, “Design skills”, “Managing the Marketing team.” These are things you maintain, not complete.
Drawer 3 — Resources: Reference materials you're interested in but don't need to use immediately. A good article about typography that you save. A React learning playlist. A pitch deck template that you can use later. Not urgent, but valuable.
Drawer 4 — Archive: Everything that's done or no longer relevant. Completed projects, old documents, notes from courses you've finished. Don't delete — just put away. Come back and search when needed.
The biggest difference between PARA and topic-based organization: PARA forces you to make a decision every time you save a file — "does this require action or is it just for reference?" Small, but this decision helps you see what needs to be done as soon as you open your computer, instead of seeing a pile of unknown folders.
Linh — a freelancer designer working with 4-5 clients at the same time. Before knowing PARA, Linh's Notion looked like this: "Client A" page, "Client B" page, "Ideas" page, "UI/UX Learning" page, "Invoice" page, "Misc" page. Each time a new brief came in, Linh didn't know where to put it — created a new page. After 6 months: 80+ pages, no structure, 10-15 minutes to find an old file.
Linh switches to PARA. Here's the new structure:
Projects (running, has deadline):
Areas (maintain continuously):
Resources (reference when needed):
Archive (done, put away):
Result: Notion sidebar goes from 80+ disorganized pages to just 4 sections. Every morning, Linh looks at Projects to know what to do. Brief files, mockup files, feedback files — everything is in the corresponding project. When the project is done, move the entire folder to Archive. Clean and straightforward, no need to think.
The most important principle of PARA: each piece of information lives in only one single place — the place where you'll need it next. No duplicates, no temporary storage. If you don't know where to put it, ask: "When will I need this file next, in what context?" — the answer will point to the right folder.
The biggest mistake when starting PARA: trying to organize everything before using it. Don't. You'll spend 2 days, burn out, then quit. The right way is to set up the structure first, then organize gradually as you work.
Step 1 (5 minutes) — Create 4 folders/sections. On Notion, Google Drive, or whatever tool you're using — create exactly 4 folders: Projects, Areas, Resources, Archive. That's it. Don't create any additional subfolders.
Step 2 (15 min) — List active projects. Open Projects, create a folder for each project with a deadline. Write a clear name: “Q1 Report — deadline 10/4” instead of just “Report”. Put any related files you can think of into it. It doesn't have to be comprehensive — you can add more later.
Step 3 (10 min) — List your most important areas. Just 3-5 areas you're actually managing. Don't list 15 areas for perfection — start with what takes up your time each week. Finance, health, team, professional skills — up to you.
What about all the old stuff? Move everything to Archive. Yes, everything — 200 old files on Drive, 50 old pages on Notion — drag them all to Archive. You're not deleting anything, just saying: “I don't need to see these every day.” When you need them, you can find them in Archive. But the important thing is that your main workspace — Projects and Areas — is now clean and only contains what's actually relevant.
“Your system should be organized to support taking action — not just collecting information.”
— Tiago Forte, Building a Second Brain
Mistake 1: Creating too many projects. If you have 20 projects at once, there are two possibilities — either you're superhuman, or you're confusing projects with tasks. “Send email to client” isn't a project — it's a task within the project “Onboard new client.” A project must have a clear goal and deadline. If there's no deadline, it might be an Area.
Mistake 2: Overcomplicating the distinction between Area and Resource. Simple rule: Area is what you're responsible for (your health, your finances, your team). Resource is what you care about but don't 'own' responsibility for (great marketing articles, recipes, podcast lists). If it directly affects your life or work every week — Area. If it's just 'nice to have' — Resource.
Mistake 3: Refusing to move things to Archive. Many people keep completed projects in the Projects folder because “you never know when you might need it again.” This is the most common reason PARA fails. Completed projects should be moved to Archive immediately. Archive is not a trash can — it's an organized storage system. You can always find what you need. But if you leave old projects alongside ongoing ones, you'll end up back where you started: a mess, with no idea what needs to be done.
Summary: PARA works when you maintain discipline: projects with deadlines go in Projects, areas are ongoing responsibilities, resources are references, and everything completed must go to Archive. Simple — but “simple” doesn't mean “easy to maintain” if you don't build a weekly review habit.
📌 Key Takeaways
BATTLE-TESTED TOOL
Practical Knowledge Base — Building a knowledge system with Notion
A free 14-chapter course guiding you to build a complete PARA system on Notion — from database structure, linking information across projects, to weekly review routines.
The PARA method is a digital information organization system that categorizes all files, notes, and documents into 4 groups: Projects (projects with deadlines), Areas (areas of ongoing responsibility), Resources (reference materials), and Archive (completed projects). It's applied by creating 4 folders on Notion, Google Drive, or any other tool, and then categorizing each file based on the question “what action is required for this file?”
PARA is suitable for anyone working with multiple files and digital notes — from freelancers, office workers, to small business owners. It's especially effective for those running 3-5 projects simultaneously and often wasting time searching for documents. No specific tool is required — it works on Notion, Google Drive, Obsidian, or even a regular file system.
A Project has a clear deadline and goal — when completed, it moves to Archive. Example: “Redesign website — done by April 15.” An Area is an ongoing responsibility with no end date. Example: “Health”, “Financial management.” One Area can spawn multiple Projects — the Area “Health” might have the Project “Run 5km — May.”
Review once a week, about 15 minutes. Check: which projects are done → move to Archive, any new projects to create, which Areas need additional documentation. Many people choose Friday afternoon or Monday morning for reviews. Not reviewing regularly is the most common reason PARA “dies” after a few weeks.
Folder organization based on content themes (e.g., “Marketing”, “Finance”) leads to files belonging to multiple themes at once and not knowing where to put them. PARA organizes based on the level of action required — “does this need to be done or just referenced?” — so each file has only one place. The result: faster searching, fewer duplicates, and always knowing what to prioritize.
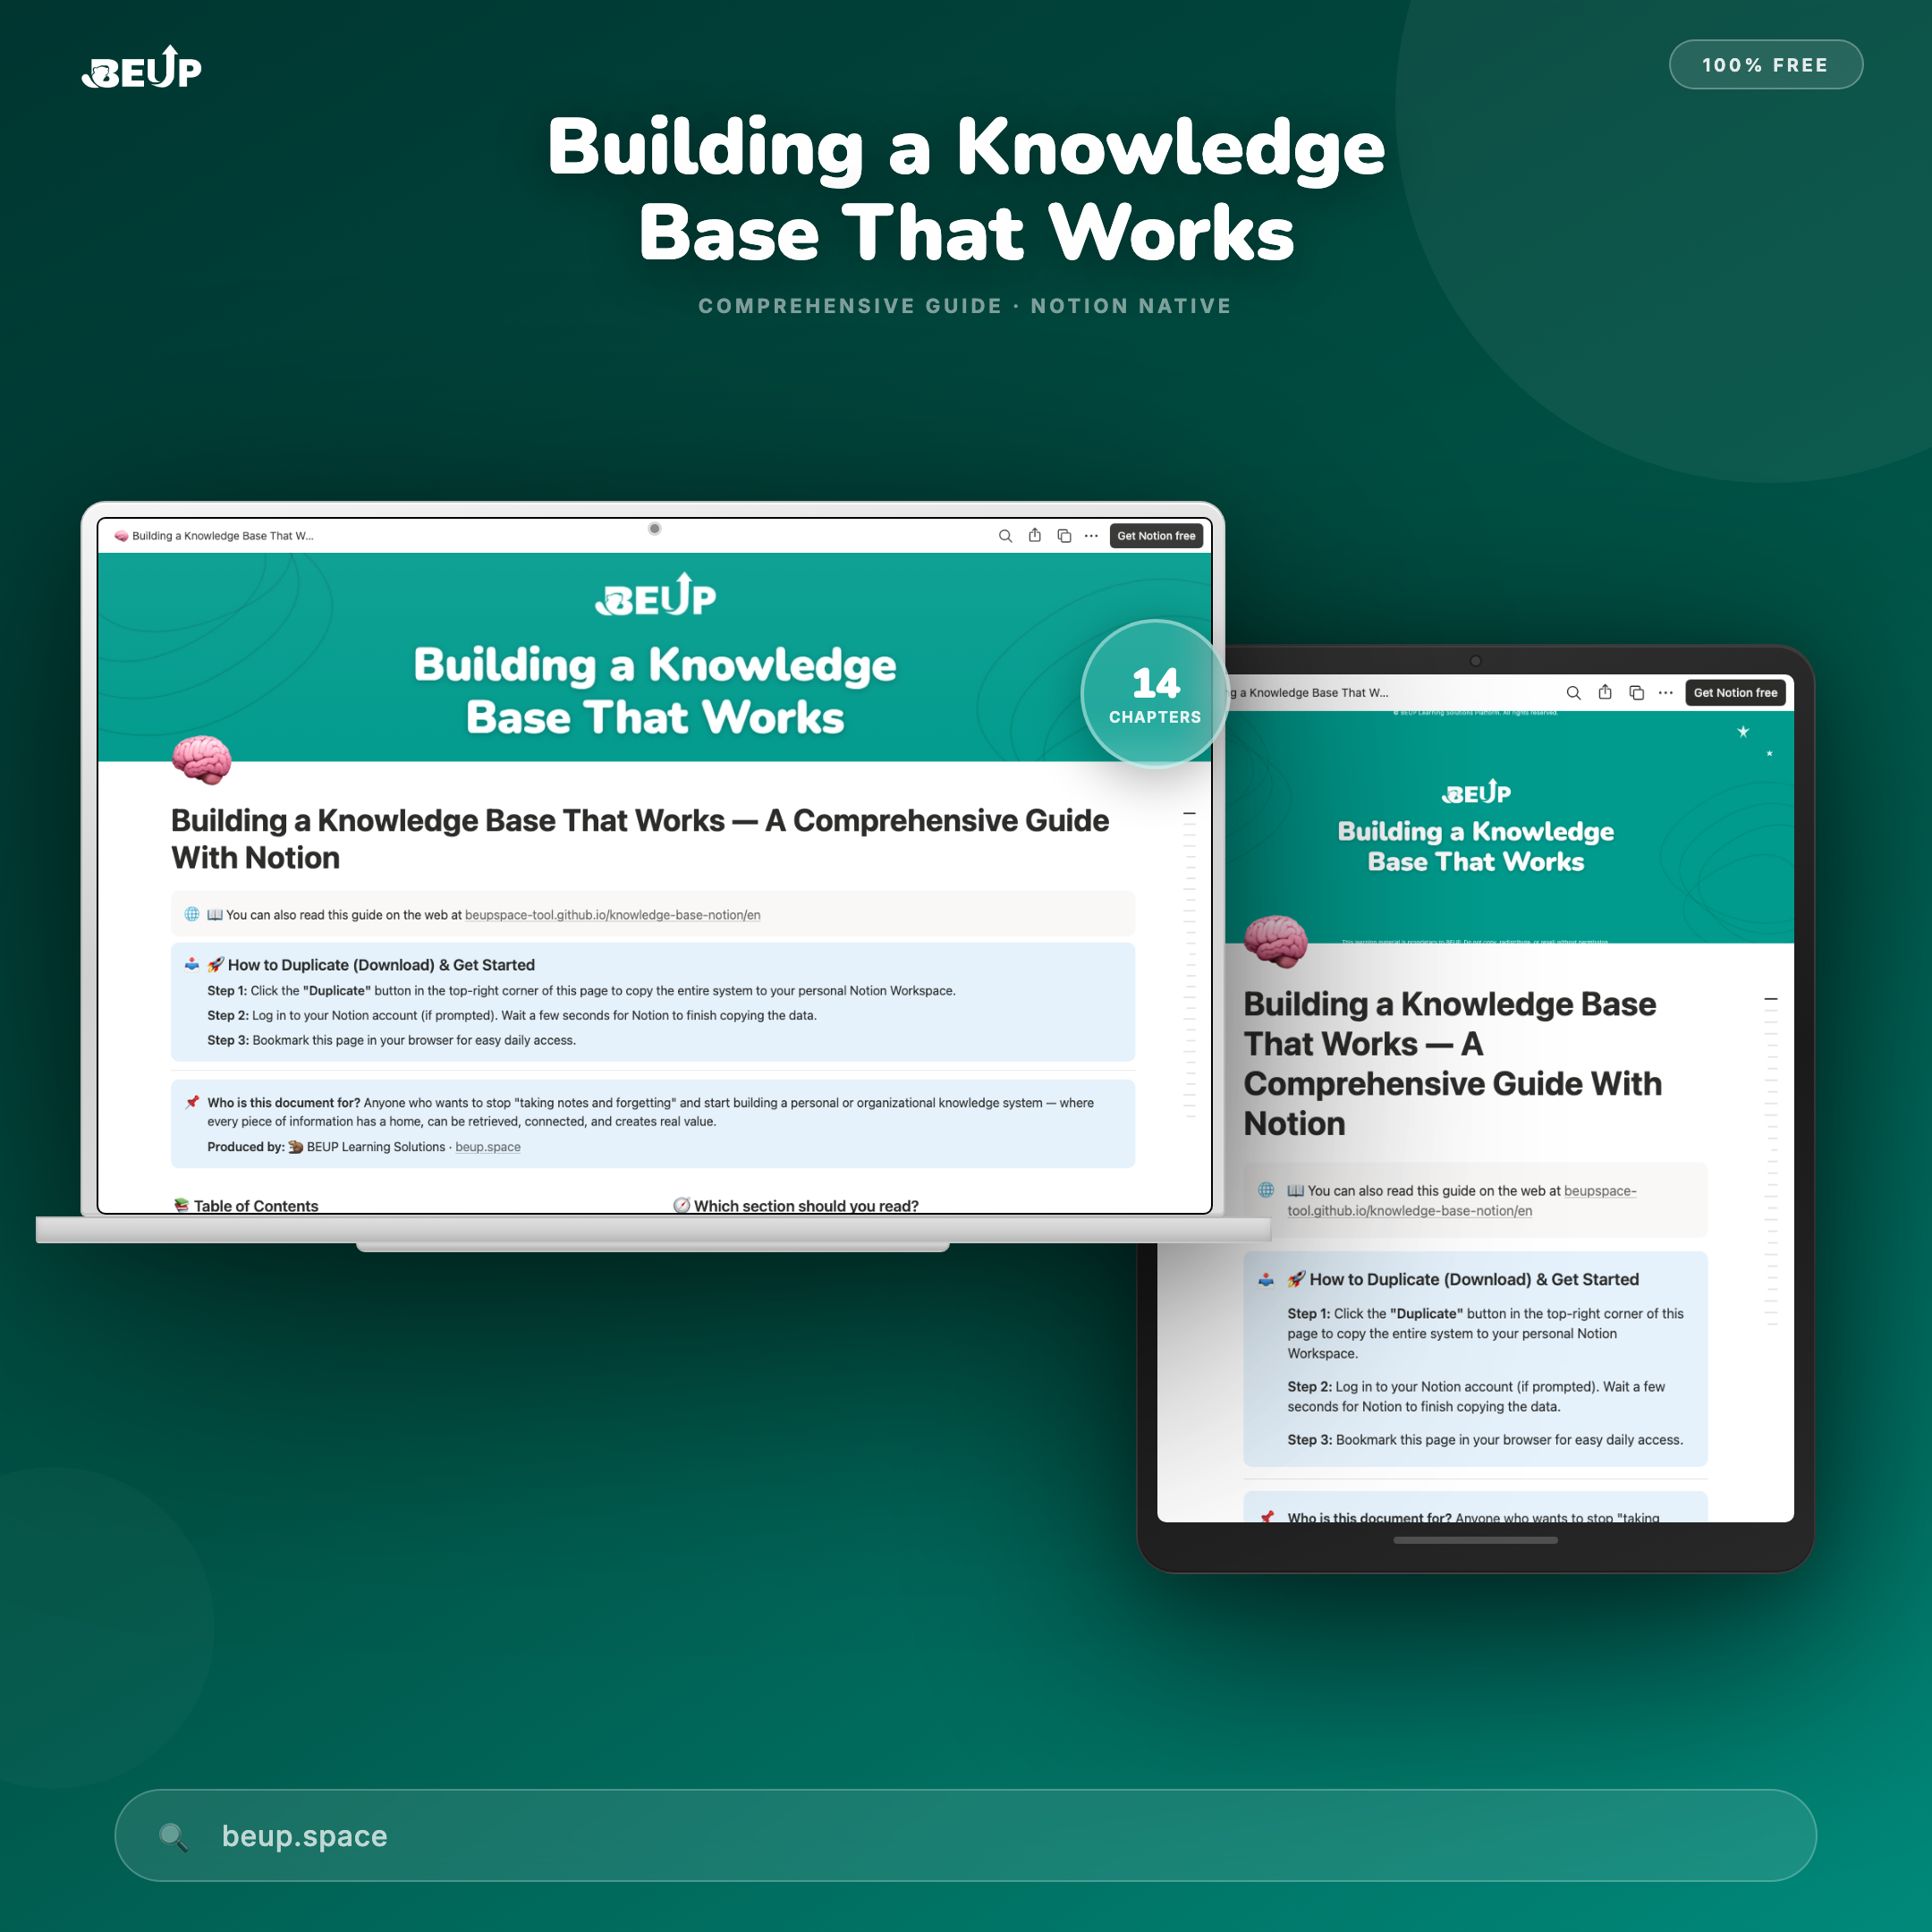
Practical Knowledge Base — A Comprehensive Guide With Notion
Free 14-chapter course — from setting up PARA on Notion, building linked databases, to weekly review routines that keep your information system clean and usable.
Reference: Tiago Forte — Building a Second Brain (2022) · Tiago Forte — The PARA Method (2023)

Book a free consultation to explore how BEUP can transform your workflow.
Book a Consultation →Digital Asset Ecosystem & Operating System for individuals & teams.